 No Junk mail. No spam Calls. Free quotes


Table of Contents
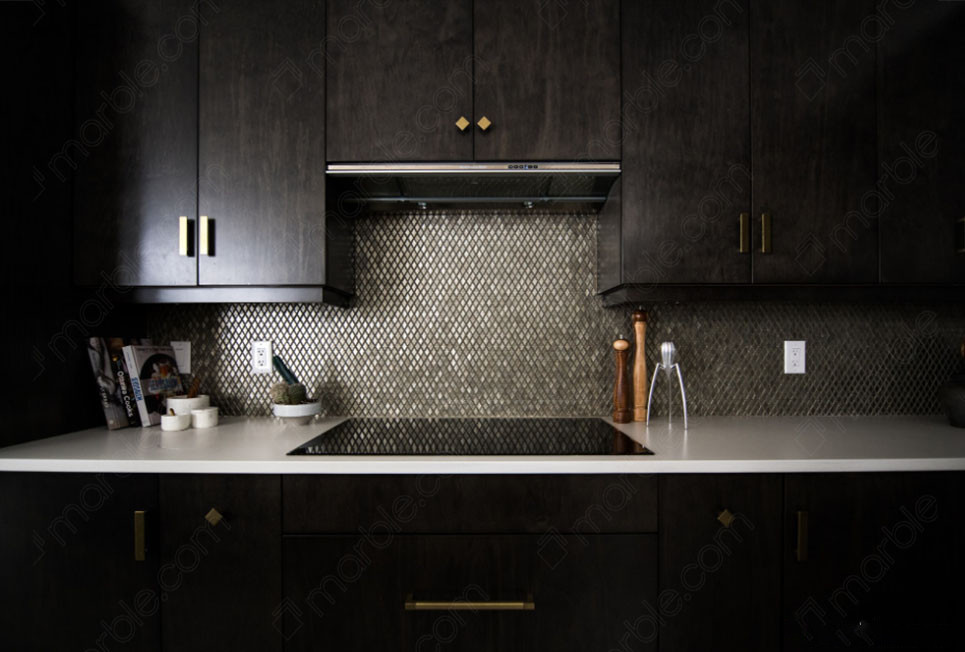
Counter to wall joint gaps should be filled with caulking to prevent water, crumbs, and critters from entering the space. Filling the gap with caulk provides a finished overall look making the job look complete. Caulking gaps can also help to save on energy bills by blocking potential drafts and to ensure no mold or mildew grows. Discolored or damaged caulk can make your expensive granite countertops look old or inexpensive so it is important to repair caulk to keep your home looking as good as new. Learning how to caulk a backsplash is a great home improvement skill to possess. Whether you are doing a kitchen remodel or just fixing up spots around the house this knowledge will come in handy.
[get_quote]
Things you will need to caulk a backsplash:
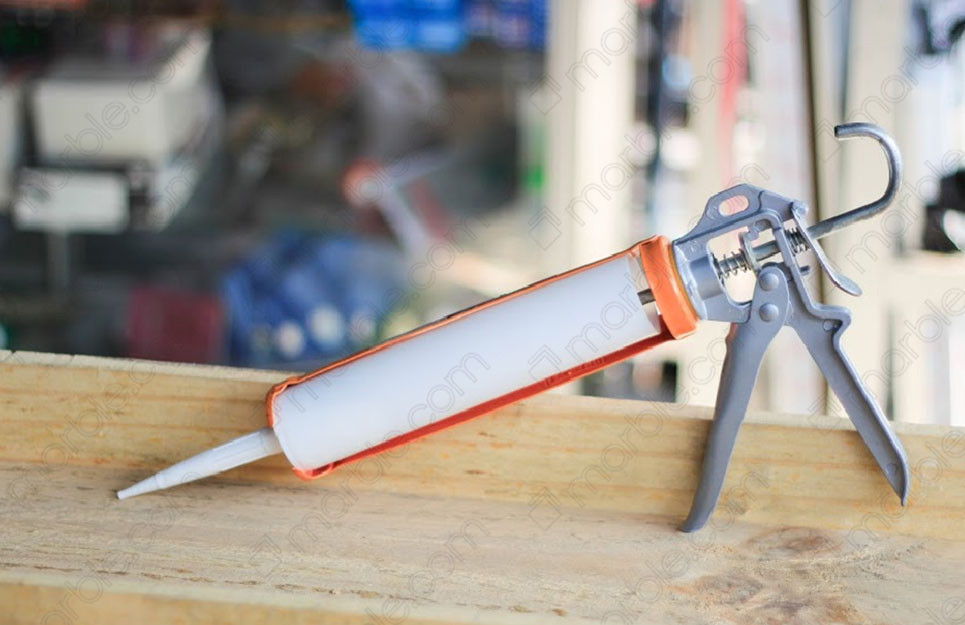
- Caulk
- Caulk gun: this helps make ensure the caulk application is seamless and even (optional)
- Towel
- Tape (optional)
How to Caulk your Countertop Backsplash
Here are the 9 Steps to DIY caulking your kitchen countertop backsplash.
1. Prepare the Area
Clean and wipe down the area you plan to work on. Make sure the area is dry.
2. Remove Old Caulk
If the caulk joint has previously been filled you will need to remove the existing caulk from the bead of caulk. This can be done using a utility knife, scraper, or razor blade. Cut both the top and bottom of the caulking and use the razor blade for any leftover areas.
3. Prepare the Caulking Tube
Using a knife or scissor cut off the tip of the caulking tube on an angle. Do not cut the tube straight across and cut as close as you can to the end of the tube so the hole is not too big.
4. Tape Surrounding Areas
This is not a necessity but it will make cleanup simple and easy. You can use painters tape or masking tape. In addition to making the clean up easy taking the sides of the line where you would like to apply caulk ensures you will have an even and straight line.
5. Apply Caulk
Place your caulk tube in the caulking gun (optional) Begin applying caulking at one end of the joint. The goal is to seal the gap with as little showing as possible.
6. Steady Pressure & Pace
Make sure you are applying steady pressure. Begin by pressing the tube tip into the joint holding the caulking tool at an angle. Make sure to keep a steady pace to ensure the caulk is evenly distributed.
7. Smooth the Caulk
Wipe the caulking with your damp fingertip across the wall joint to smooth the edges and push the caulk further into the joint.
8. Remove the Painters Tape
After you are finished smoothing the access caulk remove the top piece of tape followed by the bottom.
9. Finishing Touches
Use a damp towel to wipe excess caulk and perfect the edges until you are happy with the result. There should be no ridges or bumps in the caulking. When there are ridges in caulking can look unprofessional and allows dirt and contaminants to get trapped in this ridge of caulk.

How often do you need to Recaulk?
As a general rule, caulk should last approximately five years.
What is Caulk?
Caulk is a waterproof sealant material that fills and fills joints between different materials in the home. It is used for both new construction and repairs. Caulks are typically made from a flexible polymer. Different types of caulk include latex, rubber, acrylic, and silicon. Caulk is fully waterproof, can expand with temperature changes, and will act as a cushion by absorbing vibrations.
Caulk vs Grout
Caulk and grout are commonly confused for one another since they are both used to fill gaps between different surfaces. Grout is most commonly used between tiles for example in a kitchen backsplash and caulk is used to fill space like the wall joint between the countertop and backsplash. Grout comes as a dry powder and when mixed with water becomes adhesive. Caulk is a semi-liquid latex or silicone-based product. Grout can crack when hit with a heavy object or vibration while caulk is more flexible being made from substances like silicon and latex. The grouting process should be used to fill space between tiles called grout lines while caulk should be used to seal gaps.

Caulk Colors
Caulks and sealants come in a variety of colors, as well as neutral white and clear. There are two options when color matching; you can attempt to find a caulk color that matches the materials you are working with or use a paintable caulk and color-match later on. Select clear caulk or sealant if you do not want to worry about color matching. The rule of thumb is to choose a caulking color that matches the color of the granite best. If you match the caulk with a light color from the backsplash and you have dark granite it may stick out and make the caulking a focal point on the counter.
[get_quote]
What are the types of caulk?
It is important to note that caulk comes in many different forms so it is important you do the research to find out what type of caulk is best for your project. Some caulk sealers are silicone, latex, some come in foam form and lastly, there is butyl rubber caulk.
Silicon
Silicone caulk is flexible and water repellant making it perfect for areas like windows, around the sink, and anywhere in the bathroom. Silicon sealant is most often used around sinks, tubs, toilets, and showers. Choose pure silicone sealant for a more durable caulk job that you don’t intend to paint afterward. It’s more waterproof and flexible, so it better resists rot, rarely cracks with thermal expansion
Latex
Latex caulk is most commonly used on drywall and wood. Latex caulk fills in gaps between crown molding and baseboards. A latex-based sealant will break down if constantly exposed to water. Latex caulk is easier to apply and correct than sticky pure silicone. However, it is less moisture-resistant and more likely to crack with thermal expansion
Foam
Foam insulation expands to fill larger gaps and holes. This is most commonly used around electrical outlets and exterior pipes.
Butyl-Rubber
Butyl-Rubber is best to use for outdoor projects such as gutters and siding. Butyl rubber calk can also be used as insulation and roof repairs.
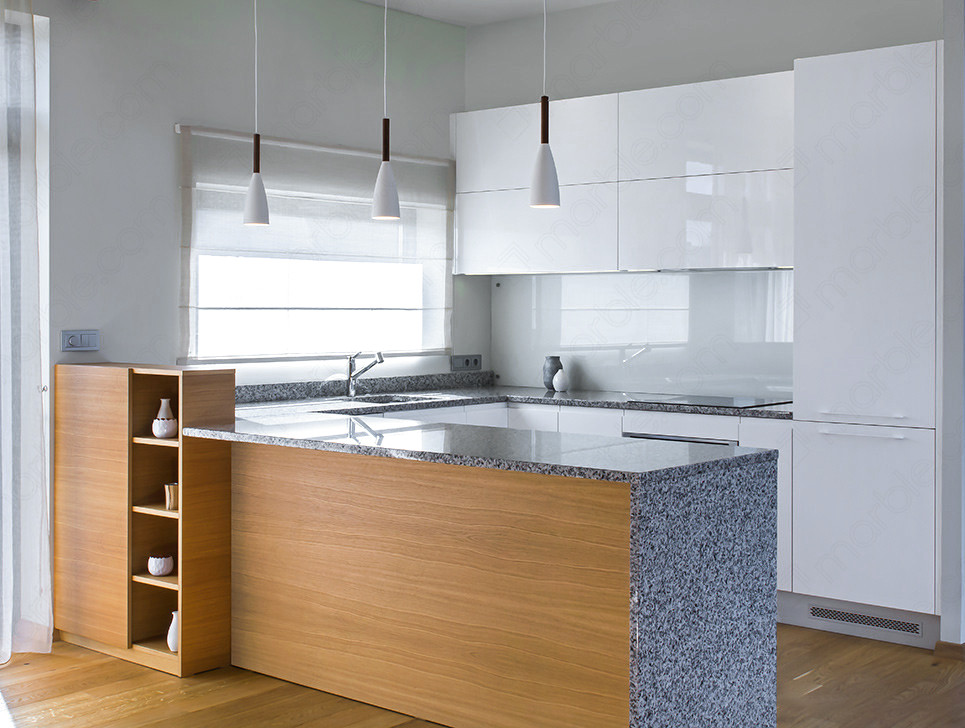
What goes first backsplash or countertop?
Installation of the kitchen counters should happen first, then put up the stone or tile backsplash.
Where should a backsplash end?
Many homeowners typically stop their backsplash level with the bottom of their upper cabinets. However, some choose to take the tile all the way up the ceiling.
How high should kitchen backsplash go?
The backsplash should be about 15 to 18 inches tall.
 Why you can trust Marble.com


 The article helped me immensely
 I’m now more informed on the subject
 I have questions about Marble.com
 The article was not accurate at all
 There is a serious lack of information
 I have questions about Marble.com