 No Junk mail. No spam Calls. Free quotes


Table of Contents
Installing new countertops is an exciting step in any home improvement project. However, before you can have new countertops installed, you must remove your old countertops first. Depending on what material your old countertops are made of, you may be able to do it yourself. Common materials such as laminate are not difficult to remove and the process can be a DIY job. This guide will walk you through the steps of removing your old countertop.
[get_quote]
Before You Remove the Countertop
Remove All Items and Disconnect All Lines
Before you actually begin to remove the countertop, you will need to make sure the surface is totally cleared off. In addition to clearing off the countertop, clear everything out of the drawers and cabinets underneath. Store these items in a location that will not be in your way as you remove the countertop.
Relocate Your Appliances
You will also need to move your appliances out of the way before you take out your countertop. This includes microwaves, stoves, etc.
Turn Off All Supply Lines
Before you remove your countertop, you want to make sure all the supply lines are disconnected and the emergency shut-off valves for each are turned to the ‘off’ position. This includes gas lines for your stove and water lines for your sink. Keep a bucket handy for draining water. In addition, you must also disconnect the drain line under your sink and disconnect your garbage disposal (if applicable).
Take Out Your Sink and Faucets
If you have a drop-in fixture sink, you will need to use a putty knife or a chisel to break away the layer of adhesive that holds the sink in place. If you have an undermount sink, unscrew the screws that hold it to the countertop. Remove the brackets underneath the sink. Lastly, use a flat chisel to take out the caulk that seals the sink to the countertop. It is very important to note that this step should not be completed alone. You will need someone to help you support the sink.
Removing the Countertop
Now that you have completed all the necessary steps before removal, you are ready to start taking out your old countertop. The following steps will help you learn how to remove and dispose of your old countertop.
Loosen the Adhesive
Most countertops are connected to a backsplash by an adhesive. Spray caulk softener on this adhesive and let it set in for an hour. After this, use your putty knife to remove the adhesive. You can then lift your countertop up.
Remove Any Screws
Some countertops are held in place by screws. If this is the case with your countertop, open your cabinets and find where these screws are located. Then, use a screwdriver to carefully remove the screws and lift your countertop up.
Free the Countertop from the Base Cabinets
Many countertops are bracketed to the base cabinets. For countertops connected to the base cabinets with nails or adhesive, place the pry bar underneath the countertop. Apply only as much force as is needed to break the countertop away from the base cabinets. You will want to be careful as you complete this step, as you do not want to cause any damages to the base cabinets.
During this process, laminate backsplashes can be removed as well. You can remove the laminate coating by using a hammer and chisel. This will expose a board that is screwed into the wall. You can take out the board using a screwdriver or a drill.
Special Steps for Removal
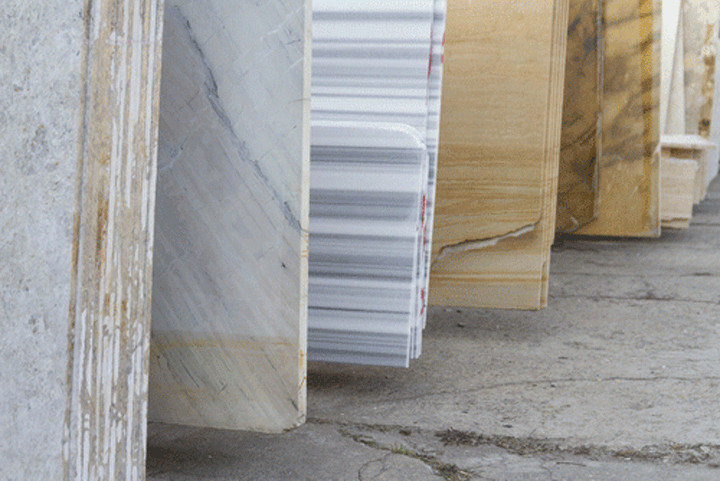
Certain countertops, such as tile or natural stone countertops, will require additional steps for removal. For tile countertops, you must take out all the tiles using a chisel. Then, carefully remove the tiles from the backsplash with the chisel. After you remove the tiles, unscrew the brackets that connect the countertop to the base cabinets. As far as natural stone countertop removal, you should not attempt to do this job on your own. The surfaces are very heavy and will require you to call in a professional to remove them.
Completing the Removal
Check for Damages
Before you finish removing your old countertop, check for any cracks in the base cabinets or drawers. Considering that the base cabinets support the countertop, you will not want to have any damage that may compromise their strength. If you do see any cracks, call a professional to assist with completing the removal process.
Discard Your Old Countertop
You can either take your old countertop to a dump or keep it if you intend on using the surface in another area of the home (provided it is not damaged).
[get_quote]
What to Know
Here are some helpful tips that you should keep in mind before and during the removal process:
-
Never attempt to remove a natural stone countertop on your own
-
Be careful as you remove any countertop
-
Check for damages before completing the removal
The table below provides a summary of the aforementioned steps for removing a countertop.
| Step 1 | Remove all items, disconnect all lines, relocate appliances and turn the shut-off valves to the ‘off’ position. |
| Step 2 | Remove your sink, faucet and garbage disposal (if you have one). |
| Step 3 | Begin to remove the countertop. Loosen the adhesive and use a putty knife to take it away. Remove any screws or brackets that connect the countertop to the base cabinets. |
| Step 4 | Lift the countertop carefully with a pry bar. Lift it up and away from the base cabinets. |
| Step 5 | Dispose of your old countertop. |
If you have laminate countertops, or another type of countertop that is not heavy, removing the surface can be a relatively simple process. Kitchen countertops are the centerpiece of the room, so you will want to make sure that the removal process goes smoothly, which in turn can lead to an easy installation process for your new countertop. This guide will help you know how to effectively remove your old countertops and keep your remodel moving along.
 Why you can trust Marble.com


 The article helped me immensely
 I’m now more informed on the subject
 I have questions about Marble.com
 The article was not accurate at all
 There is a serious lack of information
 I have questions about Marble.com