 No Junk mail. No spam Calls. Free quotes


Table of Contents
Granite is among the most versatile and widely used naturals stones in residential and commercial projects. It is also one of the strongest and most forgiving materials on the market. However, over time, even this incredibly durable stone can succumb to scratches and etching. Dull spots might also become an inevitable reality. Fortunately, with a little know-how and the right products, you can polish granite and restore its natural beauty and shine.
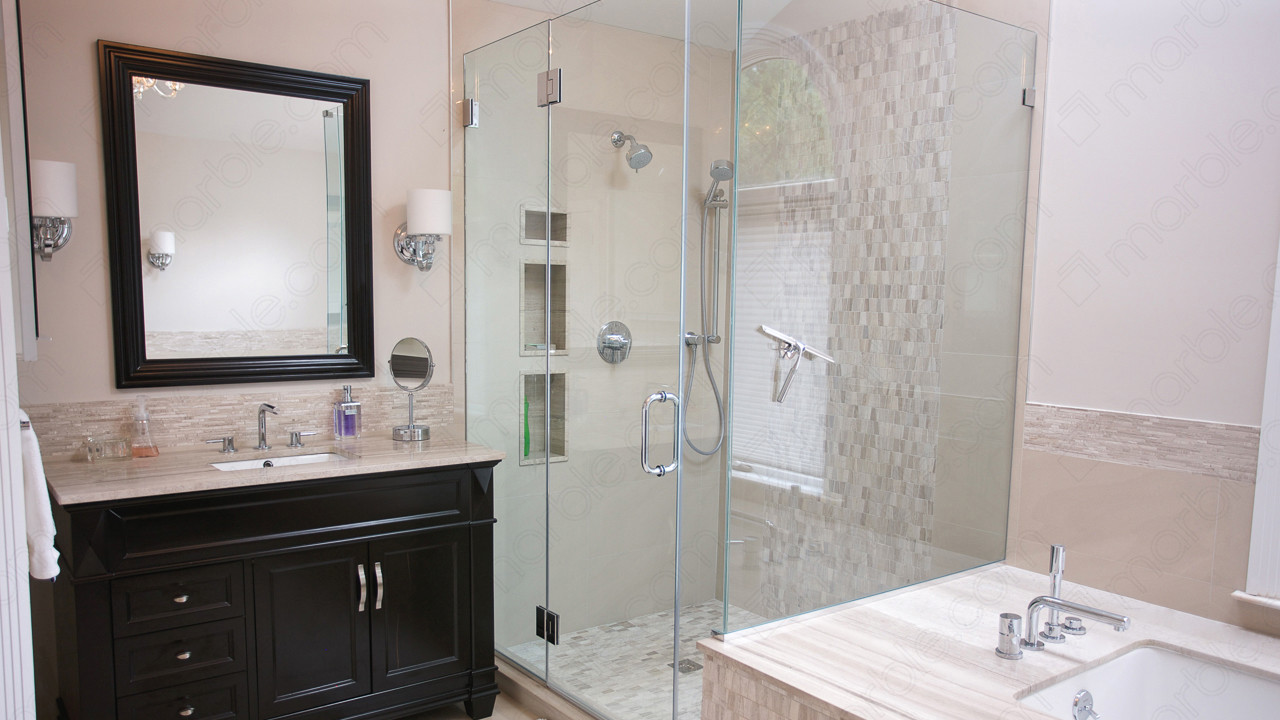
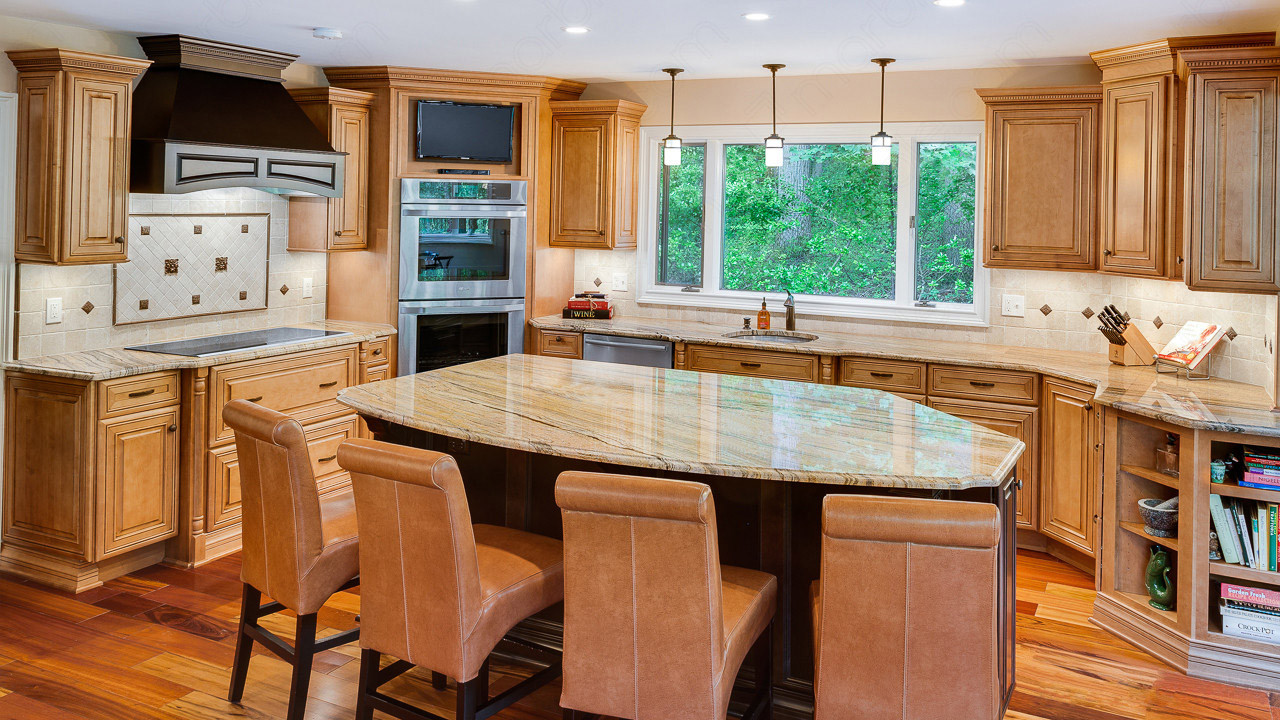
On your first visit to a stone yard, you will typically find yourself with three options of granite countertop finishes: polished, honed, and leathered. The most common finish used for kitchen countertops and bathroom vanity tops is polished, due to its mirror-like reflective properties which leave stones’ natural beauty on display. Polished granite is easier to maintain, it’s less prone to stains and is designated for high traffic areas.
Before You Polish
The first stage of polishing takes place before the stone even leaves the quarry. Granite is an igneous rock, which is cut from the mountains around the world. It’s first extracted in large blocks and those blocks are later “sliced” into slabs. The slabs then go through the process of polishing. The final product is what you see at the local stone yards and showrooms across the country. It’s important to note that the polishing process and methods can vary from quarry to quarry and the exact level of polish, in turn, may vary between slabs.
[get_quote]
When the granite slab is fabricated for a job, the second round of polishing takes place at the fabricator’s facilities. At this time, the edges of the countertops along with all the cutouts must be polished to achieve the same level of shine as the rest of the countertop. This is typically done using a wet polishing technique, where a technician will use a progressive grit of diamond pads to work on the stone surface under a constant flow of water. As the finer pads are introduced the previously dull and rough edges become smooth and lustrous.
Granite has become a common material used in residential design, after the process of extracting and transporting the stone became streamlined. This stone comes in many colors: it can be uniform, veiny, or patchy in appearance, and every slab is unique, making it a perfect countertop choice for any homeowner. It’s also extremely hard, withstands scalding heat with ease and requires little maintenance. But it’s important to remember that while granite is tough, but it’s not indestructible.
To ensure your investment in a granite countertop is well protected, granite fabricators recommend taking preventive measures to help to minimize any potential future problems. For example, sealing your countertops will prevent staining and a cutting board will eliminate scratches – yet accidents still happen.
As the years go by, you may notice some areas of your countertop are not as shiny as the day it was installed, or discover superficial scratches on the surface. These occurrences are very common. Soap scum, for example, can cause buildup around the sink area. Strong acids left for prolonged periods on the countertop can also etch the superficial layers of the stone, leaving it looking dull. Or, with constant food prep, you might detect some light scratches.
How to Polish Granite
If you have decided that it’s time to polish your granite and bring it back to its original shine, you may consider acquiring professional help or to explore a “do it yourself” option. It’s recommended you first determine the level of damage you’re working on repairing before taking the further steps. Damages to the very top layers of granite can are treated with common remedies, however, deeper damages will require you to seek the help of stone restoration professionals.
The polishing powder is often the go-to option for light repair because it’s easily applied and does not require any specialized tools. It can often be used both wet and dry and is found across most hardware box stores and online. The polishing powder used to treat light scratches, stains, and etching.
Whether using a dry or wet application method, it’s important to use instructions provided by the manufacturer as different products will come with their own set of directions. Before leaving the store or completing your order, please note that some powders will call for a use of an application pad. Once you have purchased the powder, the first step is to clean and seal off the damaged area before application. After all the steps have been completed, it’s crucial to thoroughly clean and seal the countertop. Note that select manufacturers will provide two or more options of polishing powder, which depend on the primary color of the stone.
What is Dry Polishing?
Dry polishing is used in cases where the stone is in serious need of repair, but can’t be detached and transported to fabricators facility for work. This method does require a special buffer and polishing pads. MrStone.com’s Makita Buffer Polisher is a great solution for dry polishing needs, offering variable speeds you are sure to achieve the level of polish you desire. For dry polishing, you will also require specialized polishing pads.
While purchasing polishing pads, confirm that they are for dry polishing – as wet polishing pads will wear out very quickly. Starting with the smallest grit number, usually 50 grit pad, work your way up to the highest number polishing pad, usually 3000 grit pad. Dry polishing using a buffer polisher can certainly be a DIY option for an experienced homeowner or landlord, however, consider that this is considered an advanced level of DIY project and irreversible damage to the countertop is possible.
[get_quote]
What is Wet Polishing?
Wet polishing is a professional grade polishing technique used to treat more severe countertop damage, whether it be deep cuts, harsh etching, or staining. It’s referred to as “wet polishing” because water is poured over the stone to reduce heat created by friction between the countertop and the polishing pad. This option is seldomly recommended by even the most seasoned professionals in the stone care industry: it’s extremely messy and should not be performed in the house. However, if a small section of the countertop can be removed and transported to the fabrication facility, it’s likely wet polishing will be performed.
For some, any stone polishing might be considered a last resort, and for those there are last abrasive stone restoration options. Try enhancing the color of the stone, for that you can use DuPont StoneTech Enhancer Pro Sealer. Its two-in-one formula is designed to bring out and deepen the color of granite, as well as other natural stone, while simultaneously providing a professional-grade seal. Spreading the product evenly over clean countertops is a must for best results.
If the persistent problem is from hard water deposits, soap scum, efflorescence, or grout haze, consider using DuPont StoneTech Restore Acidic Cleaner, which will with ease deal with these problems and restore countertop back to its beauty. The products mentioned above should be used as instructed on the label, as misuse of these products may cause countertop discoloration.
While accidents in the kitchen may not always be avoided, it’s certainly possible to take preventive measures to protect your stone and keep it looking new. While granite is scratch-resistant, constant cutting on the stone may cause light scratches.
Using a cutting board will eliminate this possibility and protect your knives. Avoid placing hot cookware directly onto the countertop, burnt-on food on the bottom of pots and pans can cause scratches.
[get_quote]
Rapid changes in temperature may lead to micro cracks, which can develop into a more serious problem down the line.
On bathroom vanity tops, avoid placing makeup and nail polish directly onto the stone. Using a tray or storing these products away will save you the headache of restoration down the road.
Spills should also be cleaned up as soon as they occur. Even if you have just sealed your countertop, it’s good to get into a habit of cleaning up your messes. Everyday granite cleaners are great for cleaning up these messes.
The single most important precautionary step one can take is sealing the granite countertops, whether it be in the kitchen, bathroom, or any other use, sealer is the first layer of defense against stains. The process of sealing countertops is fast and easy. In under thirty minutes, you can protect your stone for 6 months or more.
It’s a good rule of thumb to seal granite at least once every six months for lighter tone granites and every nine to twelve months for darker stones. Often your granite will be sealed for the first time upon installation and it’s the owner’s responsibility to seal it thereafter. Always thoroughly clean the countertop surface before applying the sealer and work in sections to make sure it’s applied evenly.
Granite is the most popular natural stone countertop material and it’s important to examine its benefits and potential drawbacks when selecting it for your home. It’s known for durability, however, even the most careful and diligent homeowners may experience accidents or mishaps in their homes. Keep in mind that there are many techniques for polishing and restoring granite countertops.
 Why you can trust Marble.com


 The article helped me immensely
 I’m now more informed on the subject
 I have questions about Marble.com
 The article was not accurate at all
 There is a serious lack of information
 I have questions about Marble.com