Table of Contents
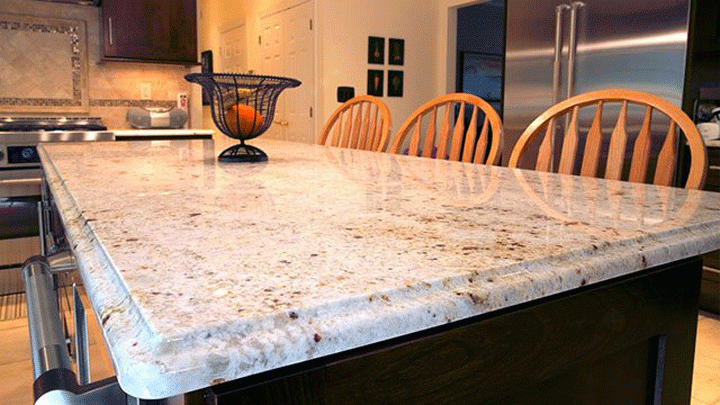
Marble is one the world’s most beautiful and desirable natural stones. There are many types available that feature gorgeous and unique veining. The natural stone is very often used for home structures, including countertops. This guide will take you through the steps of how to cut marble.
Step 1: What You Need to Do Before You Cut
You will need to prepare both the stone and your materials before you cut the marble. Below is a list of all the materials that you will need for this job.
| Marble slab |
| Wet saw (with diamond blade) |
| Protective glasses |
| Safety gloves |
| Ear plugs |
| Pencil |
| Water |
| Foam |
| Sandpaper (120-grit and 2500-grit) |
| Rag |
| Clamps |
| Cleaning equipment (Broom, dustpan, etc.) |
[get_quote]
What You Need to Do Before You Cut: Get a Wet Saw
The first step you must take is gaining access to a wet saw with a diamond blade. To do this, you can either rent or purchase the saw. If you are only doing this one job, you may be better off renting the saw. To the contrary, if you are doing a massive remodel of your home, you are probably better off just buying the saw, as you will need it for multiple jobs.
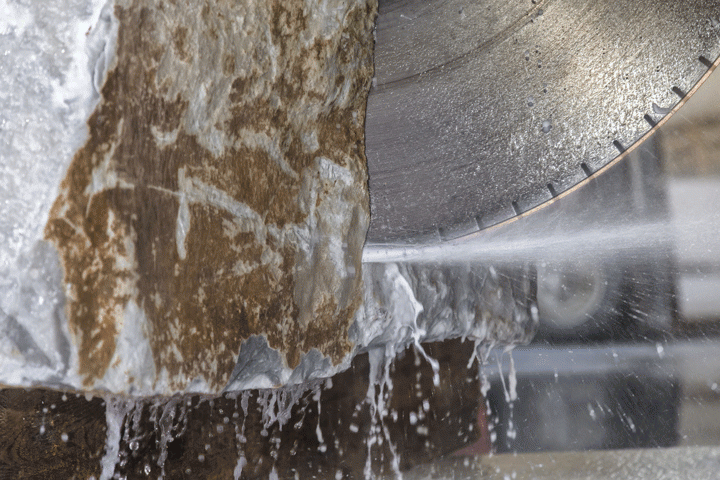
This job should not be attempted using just any saw; it requires a wet saw with a diamond blade for a reason. The wet saw sprays water on the stone as you cut, which is necessary to mitigate the amount of heat and pressure caused by cutting the marble. In addition, the diamond blade will allow the saw to make a nice clean cut.
Be sure to have the proper kind of wet saw for the job. If the piece of marble that you are cutting is larger than 15 inches in diameter, a tabletop wet saw will not get the job done. You should ask an employee at the hardware store what the best wet saw for your specific job will be.
What You Need to Do Before You Cut: Follow the Instructions
Your wet saw will come with an instruction manual. Make sure to read through this so you know exactly how to operate the equipment. This manual will teach you how to properly set up and use the saw, as well as provide you with safety information. You do not want to breeze through the manual and risk getting hurt while using the saw.
What You Need to Do Before You Cut: Connect the Saw to a Water Supply
A wet saw, as its name implies, requires water. The blade needs constant water to keep it cool while it is making the cut through the marble. For specific instructions on connecting the saw to a water supply, follow the steps that will come in the instruction manual.
What You Need to Do Before You Cut: Place the Marble on a Piece of Foam
Place your piece of marble on a large piece of foam that is thick and sturdy. When you move the saw across your marble, the foam will protect the stone by incurring the scratches that would otherwise occur on the marble. The piece of foam should either be the same size or slightly larger than your marble. There are many places you can buy this piece of foam, including craft stores.
What You Need to Do Before You Cut: Mark Your Cut
Take your pencil and make a mark where you want to cut the marble. This mark will be used as a guide when you are cutting. If you have a dark piece of marble, you may be better off using a piece of tape, as the tape will be more visible than a pencil mark.
[get_quote]
What You Need to Do Before You Cut: Lubricate the Blade
Before you start cutting, you will need to make sure the blade is lubricated. To do so, pour some water on the front of the blade. It does not matter how much water you use, as the saw will get wet when it is cutting. To make this simple, you can just pour a cup of water over the top of the blade so it gets wet.
Step 2: Ensure Safety
There is a reason for the saying “Safety First”. As you would with any other job, you will need to make sure to keep yourself safe when you are cutting marble. To accomplish this, follow the steps below.
Ensure Safety: Put on Safety Gloves
Using a saw can be dangerous. To lessen the potential danger, make sure to put on safety gloves before you start the job. Note that you will need to wear safety gloves, not just any regular pair of gloves.
Ensure Safety: Put Earplugs In
The sound of cutting marble is extremely loud. To protect your ears, use a pair of earplugs or earmuffs. Wearing this ear protection will prevent hearing loss that otherwise may occur without the protection.
Ensure Safety: Put on Protective Glasses
Just as you want to protect your hands and ears, you will also want to make sure to protect your eyes. When you are cutting the marble, small fragments can fly toward your face. You do not want these fragments getting into your eyes, as it can result in damage to your eyes. Much like you would not want to wear just any gloves to do this job, you will not want to wear just any glasses. Make sure to use safety glasses that cover your entire eye region.
Ensure Safety: Wear the Proper Clothing
Another key aspect to lessening the risk of injury is wearing proper clothing. Do not wear any clothes that are loose fitting. These clothes could get caught up in the saw blade and you can get hurt as a result. You will also want to tie back any long hair and wear proper shoes (boots or sneakers) for the job.
Step 3: Cutting the Marble
Now that you have set up your equipment and made sure that you will be safe during the job, you can begin the process of cutting your marble. Follow the steps below closely to ensure that you get a satisfying cut.
Cutting the Marble: Line Up the Stone
Before you align the piece of marble you want to cut on the saw, test a scrap piece to make sure you are using the correct side of the blade. Once you have tested the scrap piece and have ensured that you will get the proper cut, clamp down your piece of marble so it does not move around when you are making the cut.
Cutting the Marble: Begin to Cut
Once you have lined up your stone and secured it using clamps, you can begin to cut the marble. Make sure to cut slowly so you do not make any mistakes. In addition, cutting too quickly can cause the piece of marble to chip, crack or break. If you see a lot of smoke when you cut, it means that you are cutting too quickly. Do not rush to cut the marble; let the saw do its job. Another helpful hint is to start by making a small cut with the bottom side of the marble facing upwards. After you make this cut, you can flip the stone over and cut through the rest of the way. This helps prevent any potential breaks in the stone.
Cutting the Marble: Completing the Cut
Once you have finished your cut, you can take a look at your marble to ensure that the cut you made is what you wanted. After determining that the cut is good, you can move on to the following cleanup steps.
Step 4: Finishing the Job and Cleaning Up the Workspace
Now that the cut is complete, you can finish the job. Follow the steps explained below to finalize the job.
Finishing the Job and Cleaning Up the Workspace: Turning Off the Saw
After you are done making the cut and done cutting all the pieces of marble you need to, turn off the saw. You do not want to leave the saw on if you are not using it, as that creates an unnecessary hazard. Even if you are coming back later to cut more marble, you still want to make sure to turn the saw off in between jobs.
Finishing the Job and Cleaning Up the Workspace: Clean Up the Edges
Following your cut, the piece of marble may be left with some jagged or sharp pieces on the edges. Use 120-grit sandpaper to soften the edges. You can then use 2500-grit sandpaper to achieve a smooth finish. The sandpaper can be used either wet or dry. Do not use any sandpaper that is course, as doing so can scratch the marble.
Finishing the Job and Cleaning Up the Workspace: Clean Your Workspace
The final step in this process is cleaning up your workspace. To do this, drain the water tank used with the saw by following the instructions in your manual. Additionally, take an all-purpose household cleaner and a rag and wipe down the equipment and work area. Sweep the floor clean as well, as there will be some small pieces and dust in the area.
[get_quote]
Optional Step: Additional Cuts
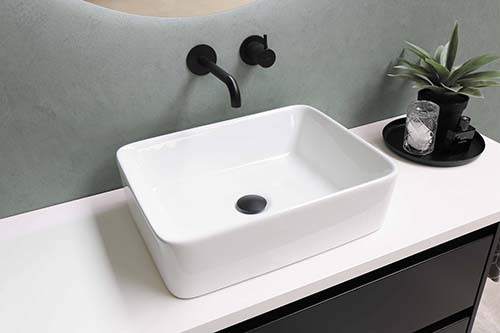
Even after you have cut your piece of marble, you may want to make additional cuts for elements such as sink cutouts. To do this, you can use a dry cut diamond wheel.
There is no doubt that marble will bring natural beauty to your home wherever you choose to install it. To achieve a desirable cut, follow the steps provided in this guide. Cutting marble can be a DIY home improvement project if you know how to properly do it.


 The article helped me immensely
 I’m now more informed on the subject
 I have questions about Marble.com
 The article was not accurate at all
 There is a serious lack of information
 I have questions about Marble.com